December DIY: How to Wrap the Perfect Present
Here's my third and final instalment of December DIY.
How to Wrap the Perfect Present

Now I know wrapping a gift may not exactly be a DIY project, but I love wrapping gifts and would like to pass some of my tips onto you.
I truly believe that you can wrap beautiful gifts on a budget with items you already have at home.
This year I opted for a more old fashioned, rustic look and used brown kraft paper instead of printed wrapping paper. All of my ribbons and bows are from the Dollarstore. The ribbon is left over from last year, and I only spent $2 on bows for this years presents! I really like the results.
Here is what you need:

Here's what you do:
A Quick Note About Boxes: I save boxes all year for gifts. A square is always easier to wrap than some sort of odd shaped gift. You can also raid your pantry for cereal boxes if you haven't saved boxes. I've done this. Cereal still tastes good if it no longer has its box.
So put your gift into the appropriate sized box and tape the open end closed.
Let's carry on!
1. Now you want to cut your paper in the appropriate size. Herein lies the the secret in gift wrapping. You don't want your paper to be too large, or too small. I like to cut a nice rectangular shape. I've weighed down my paper in the photo below so you can get an idea of a good shape. I like to give myself a lot of overlap on the long side of the paper. I'll talk a little more about the appropriate width a little later on.

2. Place the top of your box (if there is one) face down on the paper and wrap the long ends over the back of the box. I like to fold to visible edge under about a 1/4" as shown below to make a clean crisp line and hide any cut marks. Pull the paper taught around the gift and tape this edge down.

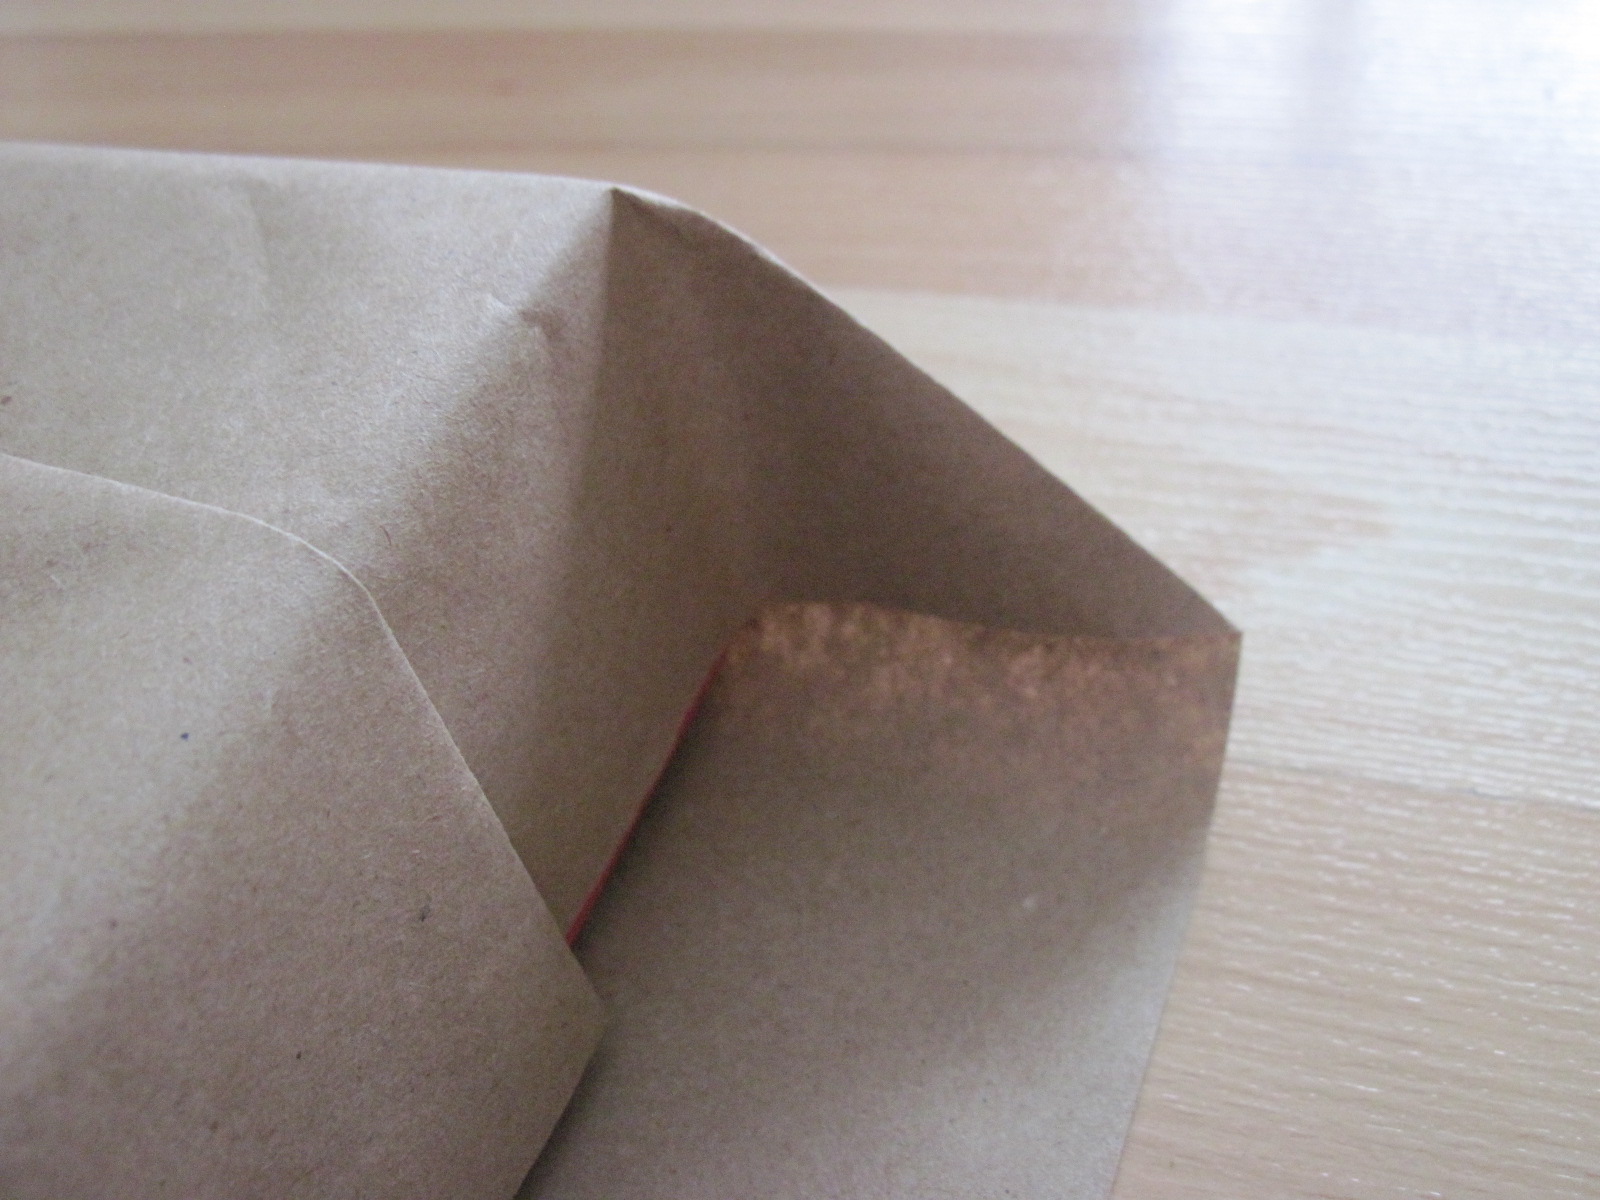
3. Now we want to wrap the sides. This is the trickiest part of wrapping. This is where the length of the wrapping paper is really important. You want to length of the paper to just cover the side of the box as shown below. This will ensure proper coverage of your gift, but keep the end from being too bulky and looking like a mess.

If you've cut the ends too long, trim them like so:

4. Another key to tidy gift ends is making crisp edges. Fold down the middle of the paper over the end of the gift box and press the side of the little triangles that appears at both sides of the gift as shown in the photo below.
5. Next you want to fold these little triangles in to meet the paper on the edge of the gift. I didn't take a photo of this. Sorry! You can see below how I've folded it in though. Crease the edge again. This trick here before you crease the edge is to smooth out the paper and press it firmly against the gift box.
Next I fold down the outermost edge 1/4" as shown to hide the cutting marks. Fold this flap towards the box and tape down.

6. Next wrap the other end of the gift. The first one is always the trickiest to make nice. The second one is really easy because you can put the gift box on it's edge and pull the paper taught before creasing and folding.
Repeat steps 3, 4 & 5 for the other end of the gift!

7. Tape the end down as shown. See how pretty that is?!

8. Now you want to add ribbon to your perfectly wrapped gift. Cut a loooong piece of ribbon more than you think you'll need. You want to make sure it will be long enough to wrap around your gift twice with some extra.

9. Start by placing the ribbon right side out on the top of the gift, like so:

10. Wrap the ribbon tightly around to the back of the gift, twist it and wrap the ribbon back around to the front of the gift. It should look like an X on the back and the front. Keep the ribbon tight so it doesn't slide around too much!

11. Tie your ribbon in a double knot on the top of the gift as shown Having a second set of hands to keep the first knot in place is always helpful, but with practice and patience you can master this skill on your own. I wrapped this one by myself. If you've wrapped your ribbon too loose, untie it and try again!
The beauty of wrapping the ribbon this way is that you can shift it around a little to get it to sit where you want it to.

12. Almost Done! Now you want to curl the ends of your ribbon (If you've bought ribbon that can be curled, if you've bought grosgrain cut the ends at an angle and call it a day!).
To curl ribbon grab your scissors and open them up all the way. Place the blade of the scissors against the wrong side of the ribbon, place your thumb over the ribbon and gently press it into the blade. Now pull straight up! If you don't do this right the first time you can usually go over the same piece of ribbon once or twice without ruining it.

13. Now place your bow on top of the knot with the curled ends sticking out on either side. Press your bow firmly onto the gift to secure your ribbon in place.

14. Ta Da! Enjoy your perfectly wrapped gift!

You could even jazz them up a little more if you've like. These gifts already came in pretty little boxes so I wrapped them in a little vintage gift wrap and added my ribbon. You could easily do this over the kraft paper for the same effect.

What I like about the kraft paper is that I could just write "To" and "From" right on it with a marker. I've done this with birthday gifts before.
But I made my own gift tags this year. What can I say? I'm not working right now! But really, these were a cinch to throw together and they look freakin' adorable!
Here is what you'll need:

I thought I would spare you the steps. All I did was cut out shapes from the vintage wrapping paper I got from my Mom, glue the shapes to strips of cardstock and hole punch the end.

Take a fine tipped marker, write your "To"'s and "From"''s on them, wrap a ribbon though the hole and tie them to your gifts!
Aren't they cute?! I just love them. And they look amazing on the gifts. See?

I'm so pleased with how these have turned out. The Boy feels a little differently, he's not crazy about the kraft paper. He said it looks like we couldn't afford real wrapping paper. lol! What do boys know anyway?! I think they'll be a hit!

Lisa.xo
posted by feeqwfqewef @ 5:00 AM
0 Comments
![]()

0 Comments:
Post a Comment
Subscribe to Post Comments [Atom]
<< Home